![]()
![]()
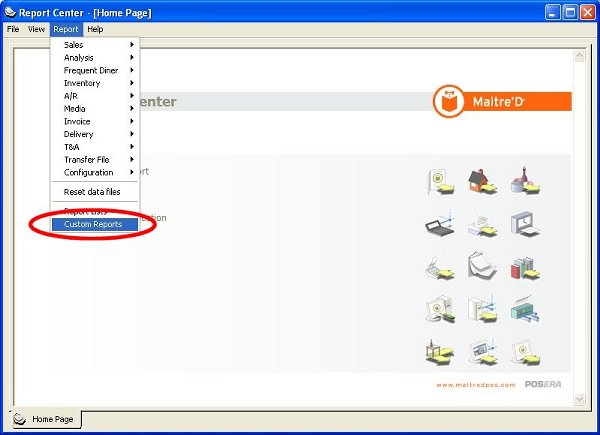
You can create your own Custom Reports by making copies of existing Maitre'D reports and modifying them to your needs.
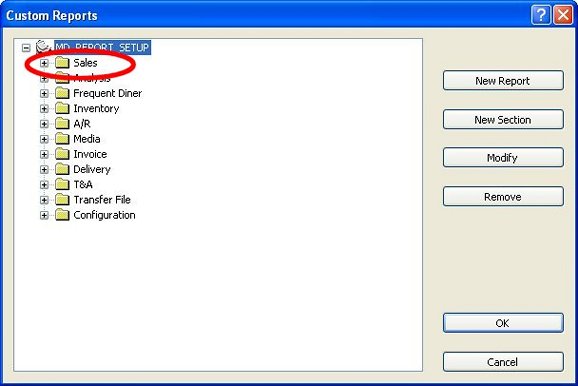
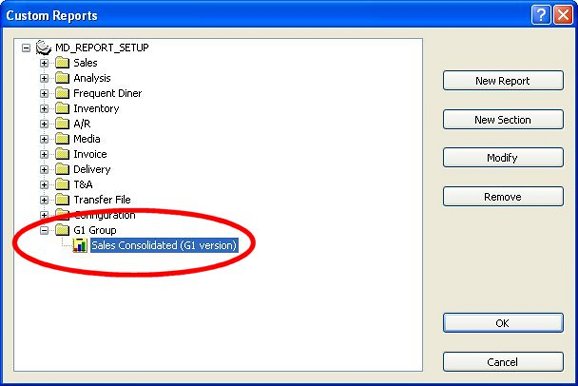
Click on the section where the original report is located.
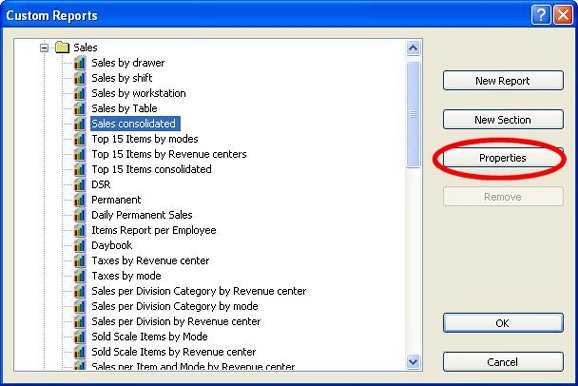
Highlight he original report you want the custom report to be based on, and click on Properties.
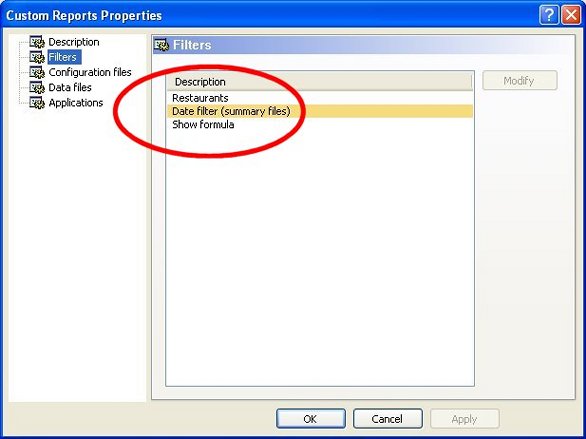
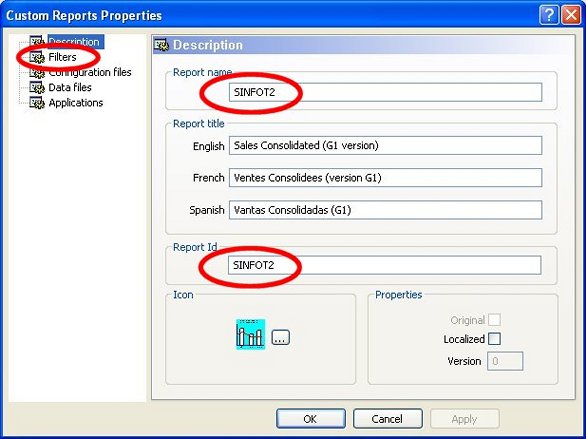
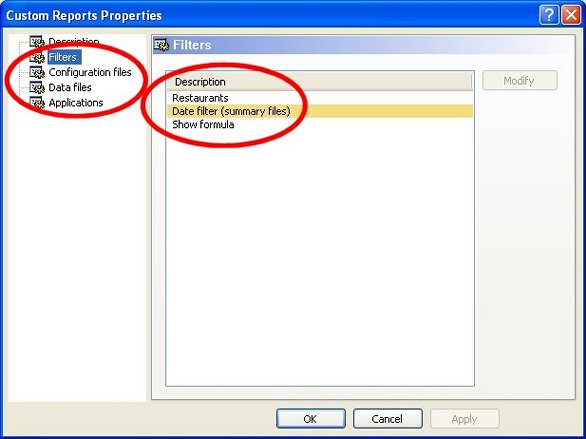
Make note of the Report Name and ID fields in the Description branch, then click on Filters.

Make note of the Filters available for the report.
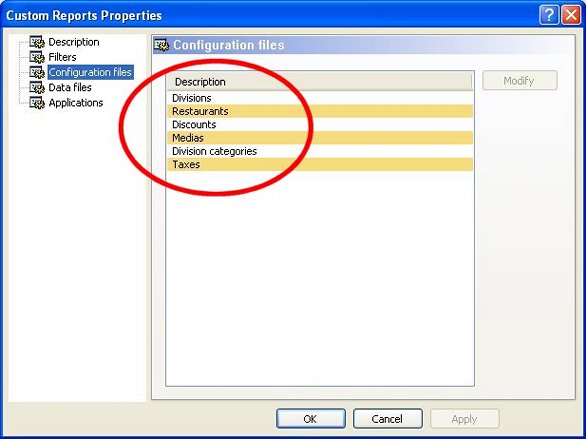
Make note of the Configuration Files used for the report.
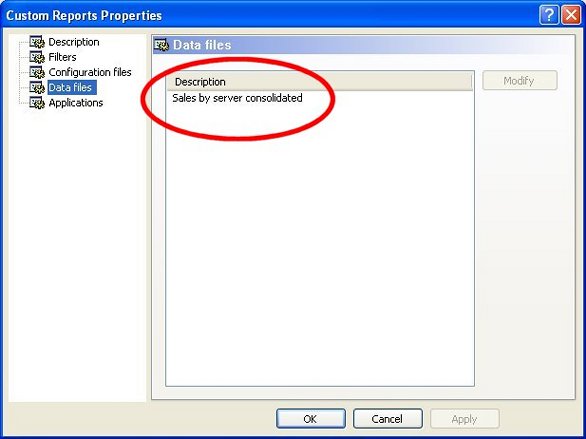
Make note of the Data Files used for the report.
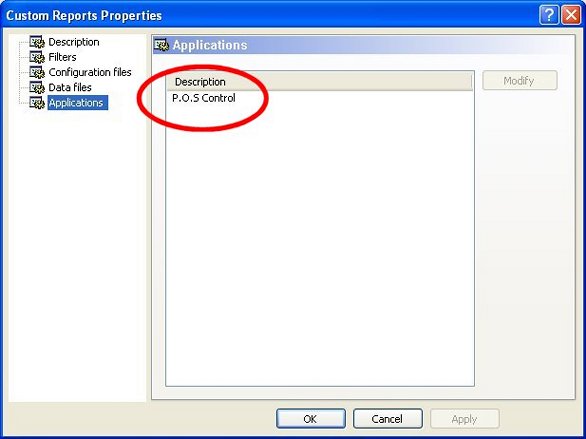
Make note of the back-office Applications where the report is available.
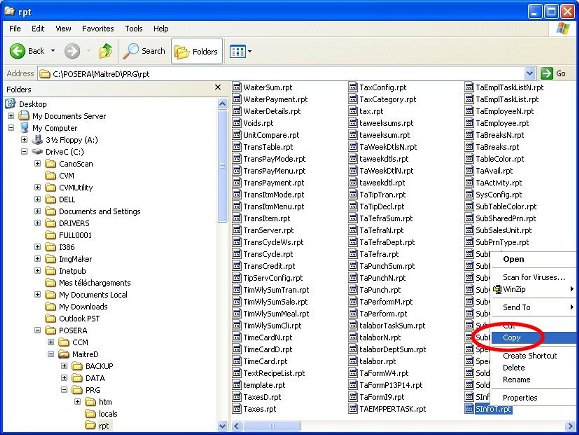
In Windows Explorer, highlight the name of the report you noted earlier.
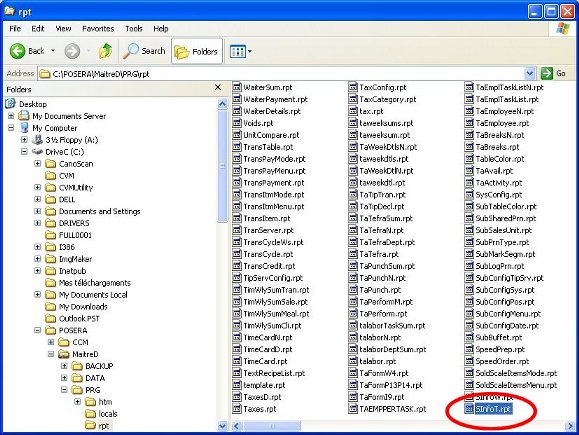
Right-Click the report name, and choose Copy from the contextual menu.
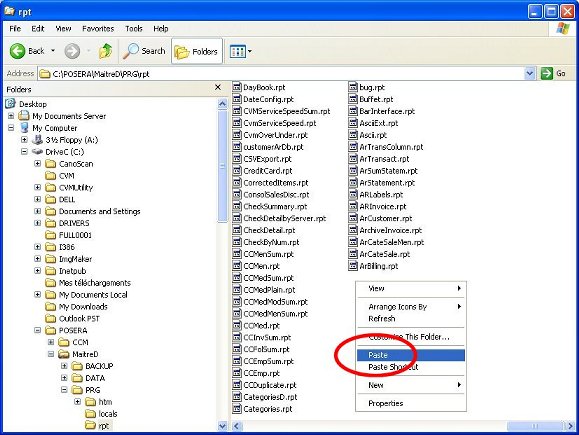
Right-Click in an empty area of the folder, and choose Paste from the contextual menu.
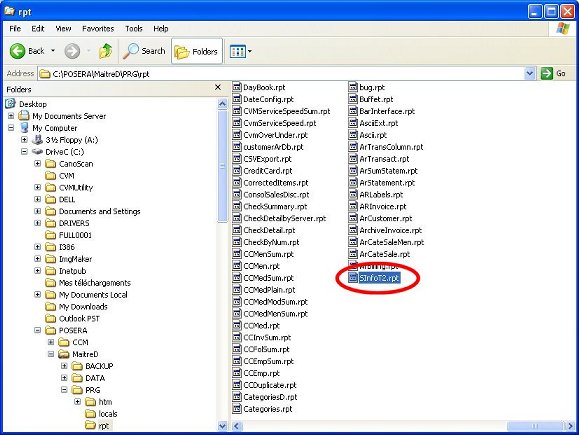
Click on the name of the resulting copy.
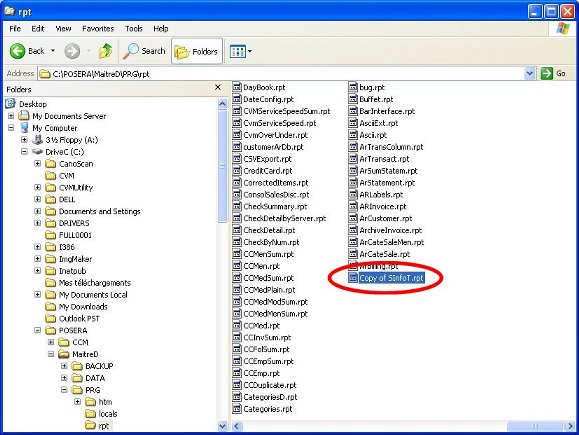
Give the new report more significant name.
Click on New Section.
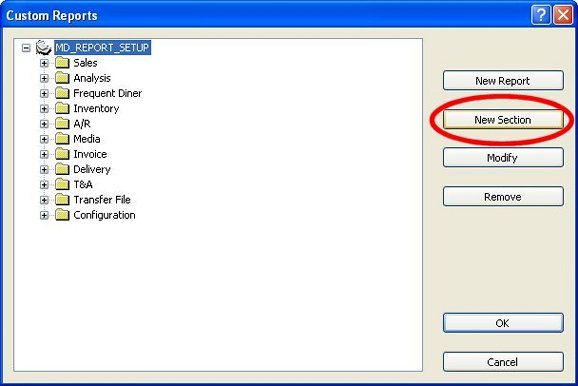
Give the new section a Title in all 3 languages, and click on OK.

Highlight the new section, and click on New Report.
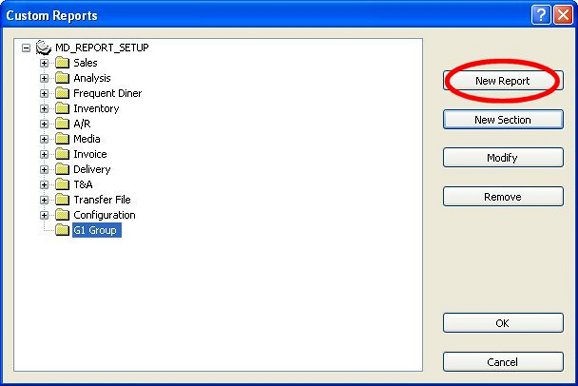
Enter the name of the new report you copied in Windows Explorer in the Report Name and Report ID fields, give it a title in all 3 languages, and then click on the Filters branch.
Note that the Filters branch is empty. Click on Modify.
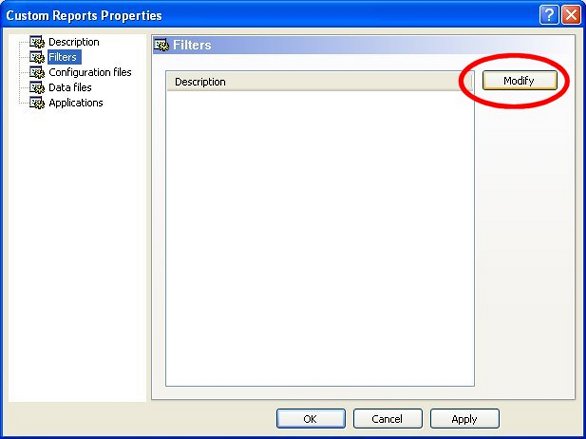
Choose the Filters used in the original report from the available column on the right, and click on Add to move them to the used column on the left.
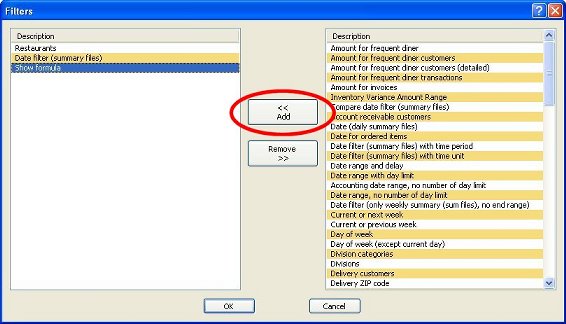
Note that the Filters branch now has the same content as the original report. Repeat the same selection process for all branches.
Once all branches are populated, click on OK, and your new report is available in the G1 Group.
Before modifying the report to your need, print it for the same date and other filters as the original report, and make sure the 2 reports match 100%, so that you are sure that you did not forget an element.
![]()